

Installation
Install the required OpenTelemetry packages:These packages provide the OpenTelemetry instrumentation infrastructure and the Agno-specific instrumentation logic.
Two Ways to Enable Tracing
There are two ways to enable tracing in Agno:-
setup_tracing()- Use this function for standalone scripts, notebooks, and custom applications. Provides full control over configuration options like batch processing, queue sizes, and export delays. -
AgentOS
tracing=True- Use this parameter when deploying agents through AgentOS. Simpler setup for production deployments with sensible defaults.
Option 1: Using tracing with SDK
For standalone scripts, notebooks, or custom applications usesetup_tracing():
Option 2: Using tracing with AgentOS
When deploying agents with AgentOS, you can enable tracing with a simple parameter:Dedicated Traces Database
When agents and teams each have their own databases for sessions and memory, traces should go to a dedicated central database. This ensures:- Unified observability: All traces in one place for cross-agent analysis
- Simpler querying: No need to search multiple databases
- Independent scaling: Traces can grow independently from agent data
- Cleaner separation: Agent data and observability data don’t mix
agno_traces for high-level trace information and agno_spans for individual span details.
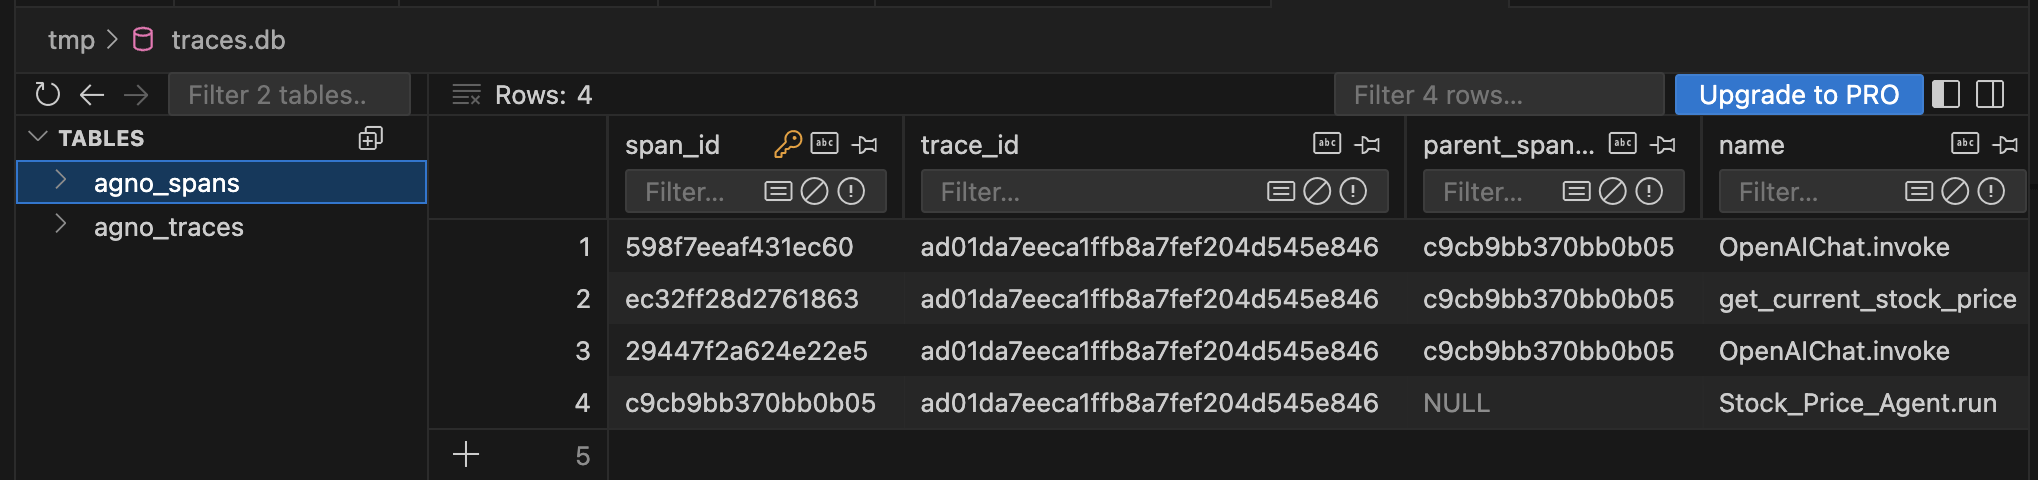
Traces stored in SQLite database viewed with TablePlus
trace_id to group related operations, parent_span_id for hierarchy, and the operation name (e.g., Stock_Price_Agent.run, OpenAIChat.invoke, get_current_stock_price).
Processing Modes
Agno supports two trace processing modes:Batch Processing
Batch processing collects traces in memory and writes them in batches. This is more efficient and recommended for production:- Lower database load
- Better performance
- Minimal impact on agent execution
- Slight delay before traces appear (default 5 seconds)
- Traces in memory if application crashes before export
Simple Processing (Default)
Simple processing writes each trace immediately:- Traces appear immediately
- No memory buffering
- More database writes
- Slight performance overhead
Next Steps
DB Functions
Query traces and spans from your database